 Zinn® Cache
Install Zinn® Cache Pro
Add Zinn® Cache Pro to a site that runs the free Zinn® Cache: start a trial or buy a licence, install it and activate the licence.
Keep Zinn® Cache installed
Pro is an add-on and needs the free Zinn® Cache plugin installed and active. If it is not, install it first.
Start a trial or buy a licence
In WordPress open Zinn Digital®, then Cache, and choose the Pro tab. Start the free trial there, or buy an annual licence for one, five or unlimited sites. Freemius handles the checkout.
Install the plugin
Download Zinn® Cache Pro from the link Freemius sends. In WordPress open Plugins, Add Plugin, Upload Plugin, choose the zip and install it.
Activate it and your licence
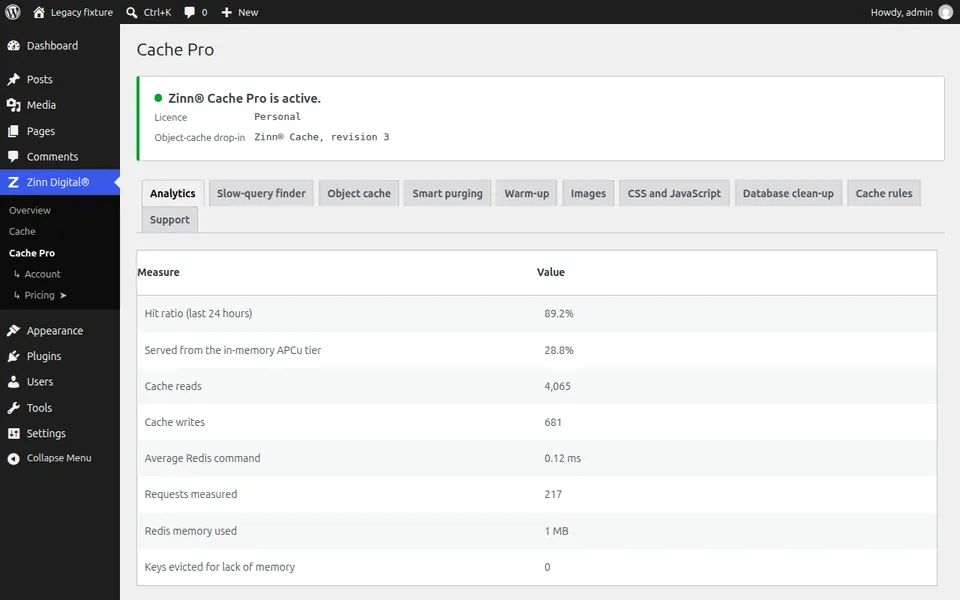
Activate the plugin and enter your licence key when it asks. A Cache Pro entry appears under the Zinn Digital® menu, with a card that says the licence is active.
Look at the analytics first
Open the Analytics tab after a day of traffic. The hit ratio tells you whether the cache is working well before you change anything.
Then turn on what you need
Warm-up, images, CSS and JavaScript and database clean-up each have their own tab. Turn one on, check the site, then move to the next.
Next guide: Check whether your WordPress cache is working
Included free with Zinn Digital® hosting
Get Zinn® Cache free on Zinn Digital® hosting
Every WordPress site on our own servers comes with Zinn® Cache installed and connected: the page cache is on, the Redis object cache is managed for you, and plugin updates arrive on their own. Zinn® Cache Pro is not included; add it to any site when you want it.